After finishing the task of deploying our backend, we need to change our frontend project to make requests to our cloud infrastructure. But here, a problem arises. We want to access our published backend when we are in production, but the team needs to continue accessing the API locally to develop new features in a more practical way. How can we have the best of both worlds?
The answer to this, once again, was thought up by the Angular team and is the creation of configuration files for each development environment.
Until version 14 of Angular, these files were already standard when creating the project (the ng new command). However, to simplify new projects and reduce the learning curve, these files were removed for new projects.
But we shouldn’t worry because to add them, we can use the Angular CLI. On the command line, use the following command:
ng generate environments
After executing the preceding command, the Angular CLI creates the environments folder, and inside it, we have the environment.development.ts and environment.ts files.
These TypeScript files have only one object, and this object is where we will place all the settings that we need to differentiate between production and development environments. We will first change the environment.development.ts file like so:
export const environment = {
production: false,
apiUrl: ‘http://localhost:3000’
};
In these objects, we declare a flag to indicate that this is a configuration of the development environment and the URL of our local backend service. We will now change the environment.ts file like so:
export const environment = {
production: true,
apiUrl: ‘https://gymdiaryangularboook.azurewebsites.net/api’,
};
Here, we are doing the same but indicating the production environment of our application. The backend address will be the one created in the previous section.
To use these files, we must import them and refactor the HostInterceptor service to use it:
import { environment } from ‘src/environments/environment’;
@Injectable()
export class HostInterceptor implements HttpInterceptor {
intercept(
request: HttpRequest<unknown>,
next: HttpHandler
): Observable<HttpEvent<unknown>> {
const url = environment.apiUrl;
}
In our interceptor service, which is responsible for adding the URL to our requests (for more details, see Chapter 8, Improving Backend Integrations: the Interceptor Pattern), we use the environment object property to determine the URL.
A point of attention here is that we must import the environment.ts file for this variable because Angular makes the change when generating the build.
To make it clear which environment we are in, we will change the AppComponent component like so:
import { environment } from ‘src/environments/environment’;
import { ToastrService } from ‘ngx-toastr’;
@Component({
selector: ‘app-root’,
templateUrl: ‘./app.component.html’,
styleUrls: [‘./app.component.css’],
})
export class AppComponent implements OnInit {
loadService = inject(LoadService);
toaster = inject(ToastrService);
title = ‘gym-diary’;
ngOnInit(): void {
if (environment.production) {
this.toaster.info(‘Production Build!’);
} else {
this.toaster.info(‘Development Build!’);
}
}
}
In this change, we are using the toaster service (for more details, refer to Chapter 8, Improving Backend Integrations: the Interceptor Pattern) to indicate, when the user enters the page, which environment they are in.
Let’s run our application using the ng serve command, and we will get the following result:
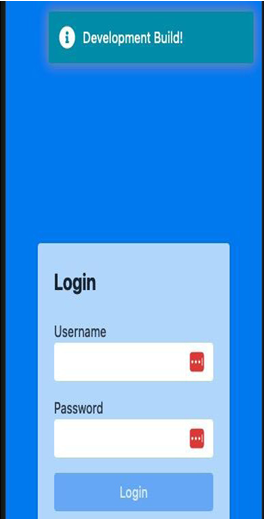
Figure 12.8 – Application in development mode
If we log in to our application, we can see, by looking at the developer tools in the Networks tab, that the application is making requests to our local backend. To run our Angular project as a production build, we can use the following command:
ng serve –configuration production
When accessing our application, we can see in the message on the screen that requests are made to the service published in our cloud service:
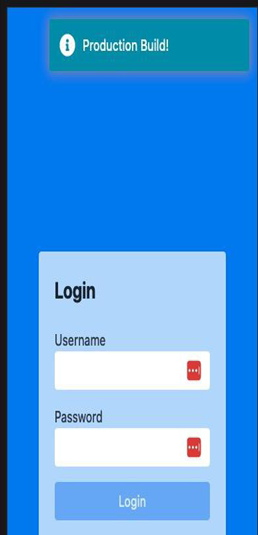
Figure 12.9 – Application in production mode
With our service prepared for multiple environments, we can now see how we can better prepare it for deployment in the next section.

No Responses